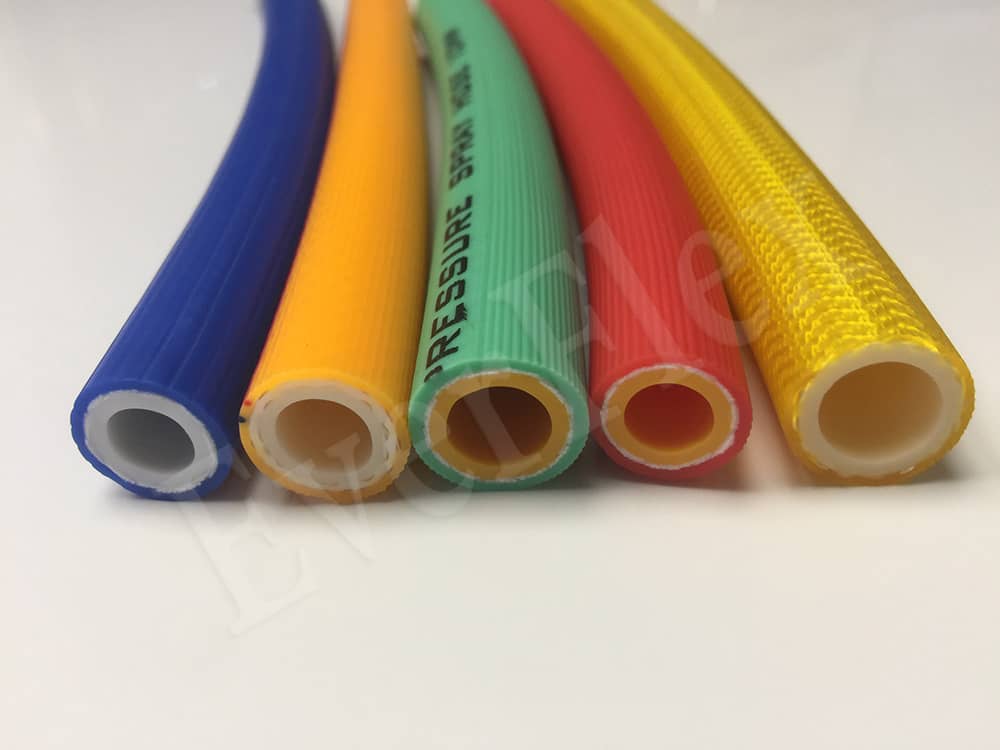
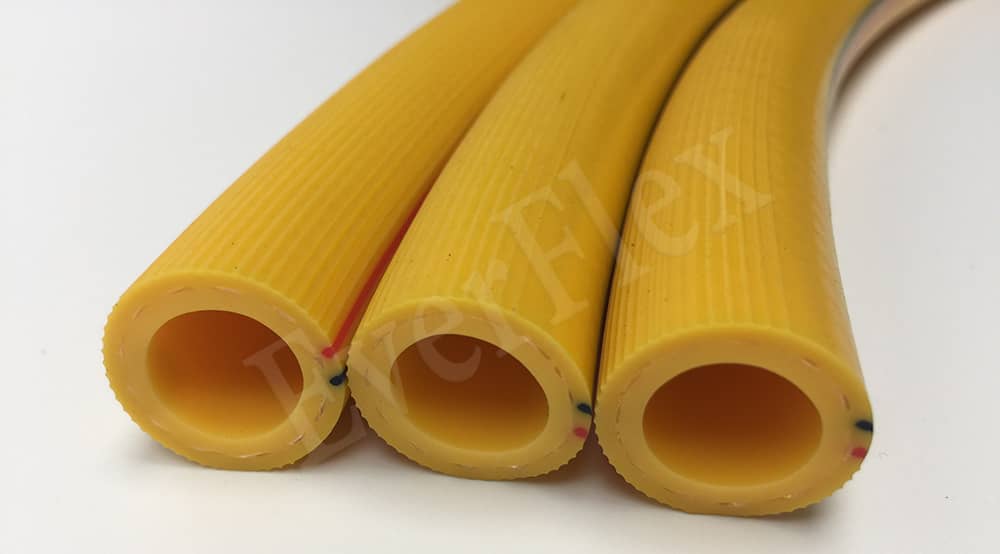
PVC spray hoses are excellent for a wide range of applications, including agriculture and industrial use. However, some users have reported that the hoses leak or malfunction when connected to machines, even though the quality of the hose itself is fine. To help you avoid such issues, here are the general steps for installing a PVC spray hose.
Step 1: Gather the Necessary Tools
First, you need to collect the tools required for the installation. You’ll need a hose cutter, a pair of pliers, and the appropriate fittings and adapters for the hose. Having all these tools ready beforehand will make the installation process smoother.
Step 2: Prepare the Ends of the Hose
Once you have your tools, use the hose cutter to cut the PVC spray hose to the length you need. It’s crucial to make a straight cut to prevent any damage to the hose or the fittings. After cutting, use the pliers to remove any burrs or rough edges on the hose ends. This step ensures a proper connection later on.
Step 3: Attach Fittings and Adapters
Next, attach the correct fittings and adapters to the ends of the hose. It’s essential to use the right size and type of fittings that match the hose’s diameter and pressure rating. Follow the manufacturer’s instructions carefully when tightening the fittings. This will ensure a secure and leak – free connection.
Step 4: Test for Leaks
After attaching the fittings, it’s time to test the hose for leaks. Fill the hose with water or air and carefully check all the connections for any signs of leakage or dripping. If you detect any leaks, try tightening the fittings first. If that doesn’t work, replace the fittings as needed.
Step 5: Install the Hose
Finally, install the PVC spray hose in the desired location. Be careful to avoid sharp bends or kinks in the hose, as these can affect its performance and lead to leaks over time. Use appropriate clamps or brackets to secure the hose and prevent it from moving or coming loose.


